
In this article, we will discuss the Tile view of the Warehouse module, including its specifications and various benefits.
If you are interested in exploring more about the List view, kindly click here.
Getting started
- Go to the
Warehouse module.
- Click on
.
- Then select
.
Filter by stock location/ warehouse
(sub)Projects can be filtered in the Warehouse module by stock location.
This filters (sub)projects only. The scheduled transport and crew shown in the Warehouse module are not filtered by stock location.
Filter by date
A (sub)project will be shown in the module based on its due date. Due date is when the planning period has started. To change the standard setting of "Today" as due date, you can change the date in the top left corner in the Warehouse module. 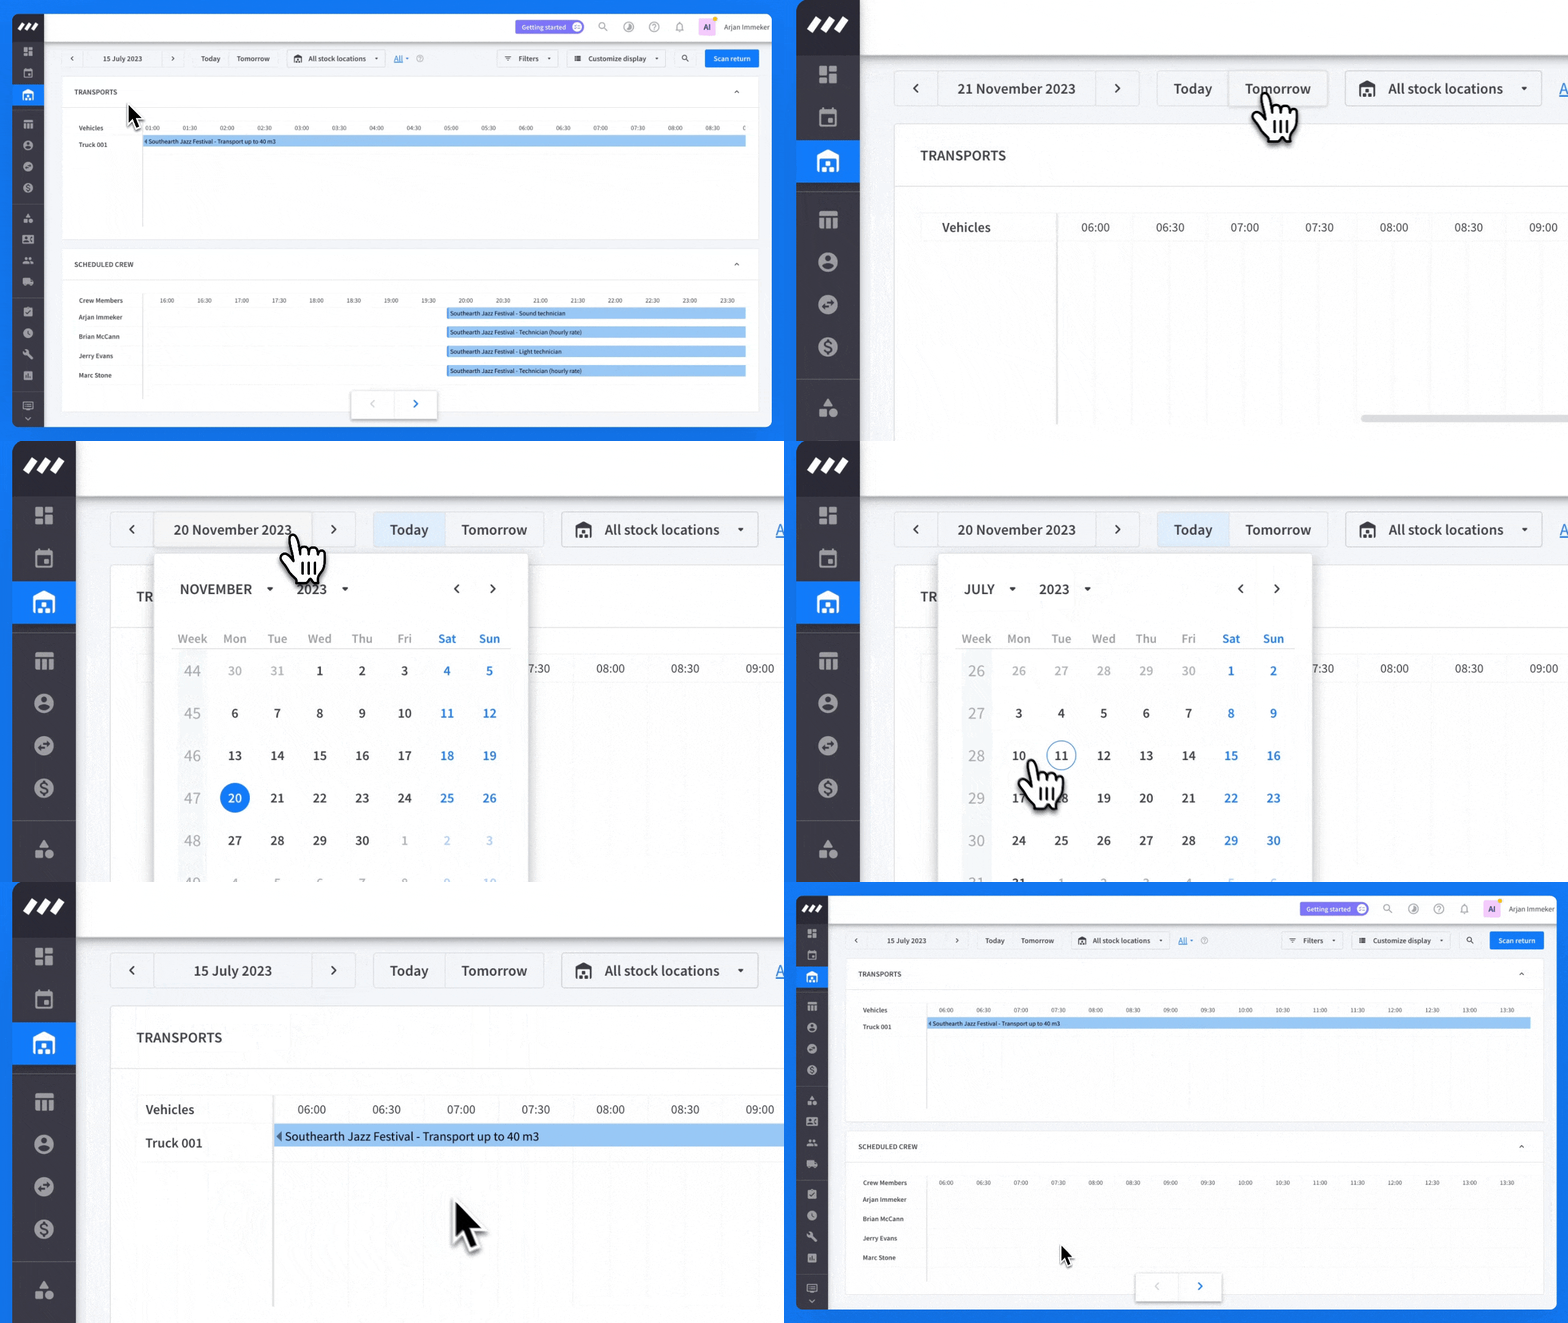
Select filters
Filters help you search and focus within a module. You can use them to find a specific equipment or invoice, or narrow down your selection of projects or equipment items. Creating presets lets you easily switch between different filter selections whenever you want. 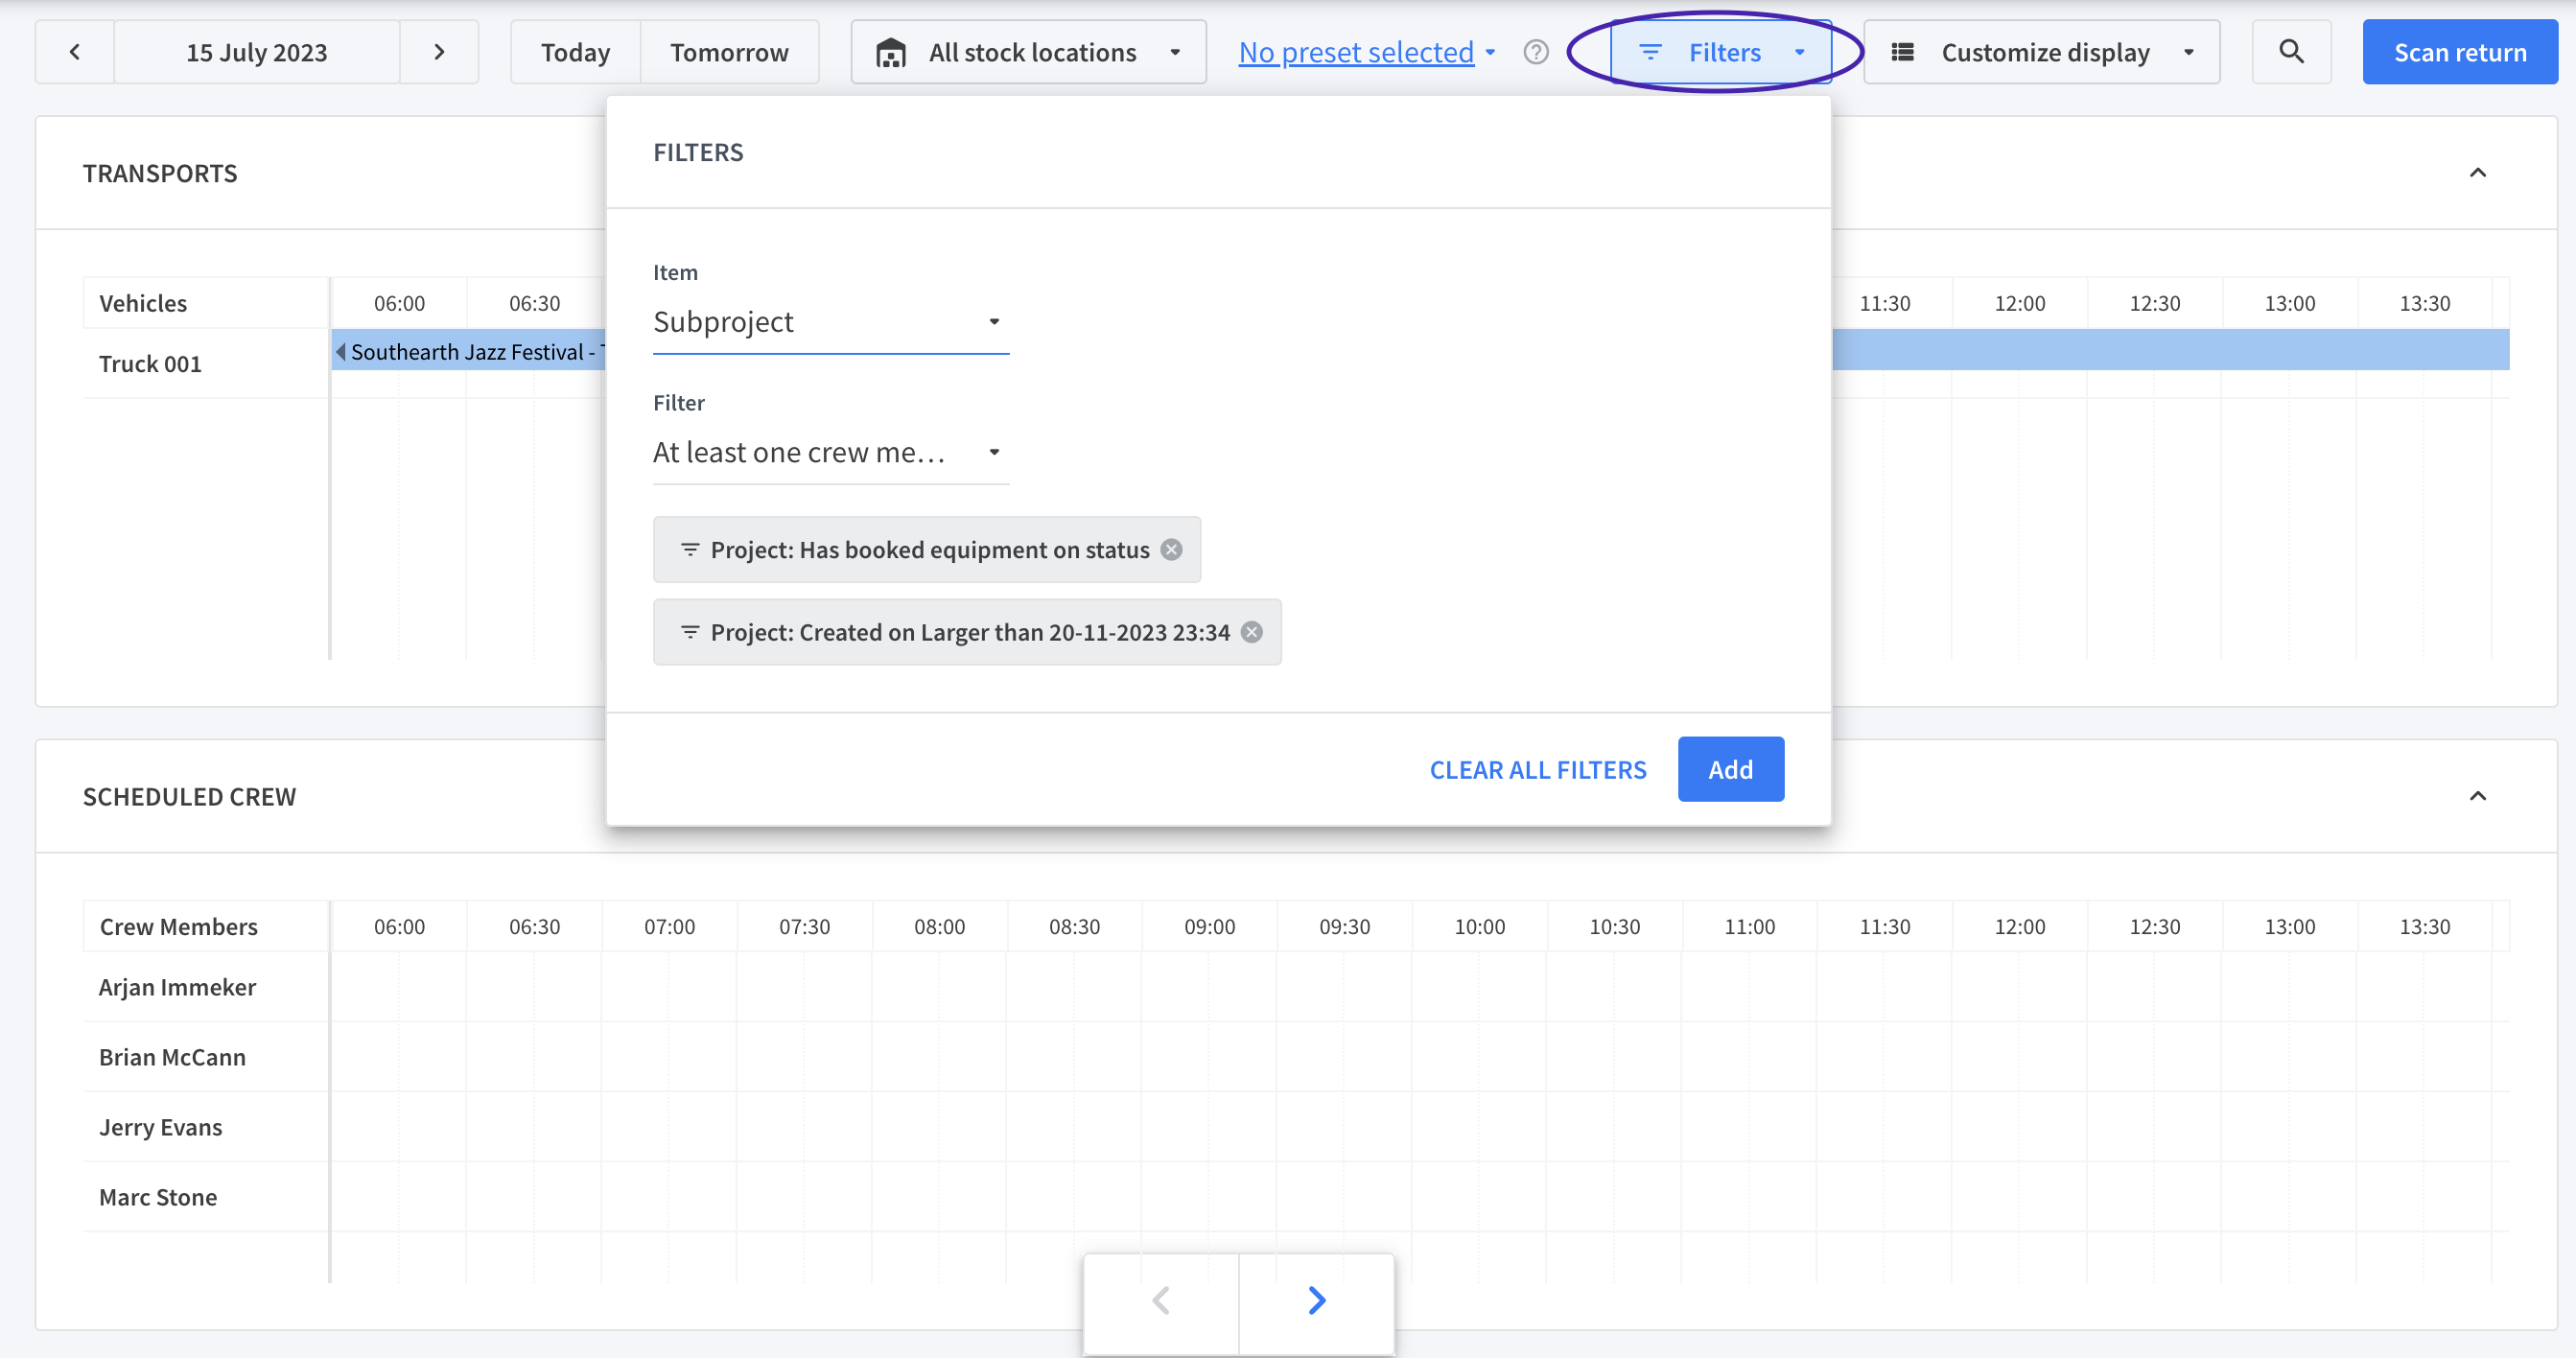
Search for a project
Scan return
If you have serialized equipment coming back from multiple projects at the same time, we have a handy time-saving solution called the "Scan return" feature. It allows you to efficiently scan and return equipment without the need to open each project individually. Read more about it here.
Scheduled crew & Transport timelines
Transports
Crew Scheduling Essential
This timeline shows which vehicles are leaving and coming back on that day. This makes it clear what projects are going out and are coming back in. You may use this to know what equipment needs to be loaded, unloaded or prepared.
Scheduled crew
Crew Scheduling Essential
This timeline shows which crew members are planned on the projects of that day.
Project tiles
Each tile of a status represents one (sub)project. A tile shows up in the Warehouse module when:
- the (sub)project status is "Confirmed".
- The planning period of the equipment group(s) matches with the date on the Warehouse module.
Tiles progress from one status to the next in a left-to-right movement. For a visual representation, check out the video below.
Note: When you are using subprojects, every tile represents
a subproject.
The project tiles show the following information
| Name | Name of the (sub)project. |
| Project number | (sub)project number of this specific project. |
| Date | Start or end date of the planning period. |
| QR code | Scan that QR code in your Rentman app's warehouse module to start booking the (sub)project. |
| Create Document |
Click on print to create a packing slip, carnet or call sheet. |
| Open project |
Click on launch to open the project selected in the warehouse. |
| Notes | Click on + add note to add project notes. |
| Click on "Change status" to advance a project to its next status. | |
| Click on "Book" to start booking equipment. | |
| Click on “Assign crew members” to assign crew members to this (sub)project in the warehouse. |
Was this article helpful?
0 out of 0 found this helpful